➔ Sydney Hobart 2025
FAQs
Contact
SHOP
Featured
Sydney Hobart Yacht Race
Images
Sydney Hobart
Best of Yacht Racing
Landscapes
Posters
Yacht Race Library
Browse All
More Images
Books
50 Years of Ocean Classics
Tasmania’s South Coast Track Walk: From Cape to Cape
Ocean Classics
Browse All Books
More Books
STORIES
Iconic yacht race photographer captures his 50th consecutive Sydney Hobart
Federation Peak – one of life’s great adventures
‘Operation Southwest’ – a story about family, the weather and the wilderness.
All Stories
About
Chasing storms and boats across white-flecked water canyons, Richard captures moments and memories that would otherwise be lost to time.
Richard's Story
Home
Shop
Images
Sydney Hobart
Best of Yacht Racing
Landscapes
Posters
Yacht Race Library
Browse All
Books
50 Years of Ocean Classics
Tasmania’s South Coast Track Walk: From Cape to Cape
Ocean Classics
Browse All Books
Stories
About
Your Account
Login / Register
FAQs
Search
Contact
Home
Back
🔍
Hover to Zoom
©
Richard Bennett Photography
🔍
Hover to Zoom
©
Richard Bennett Photography
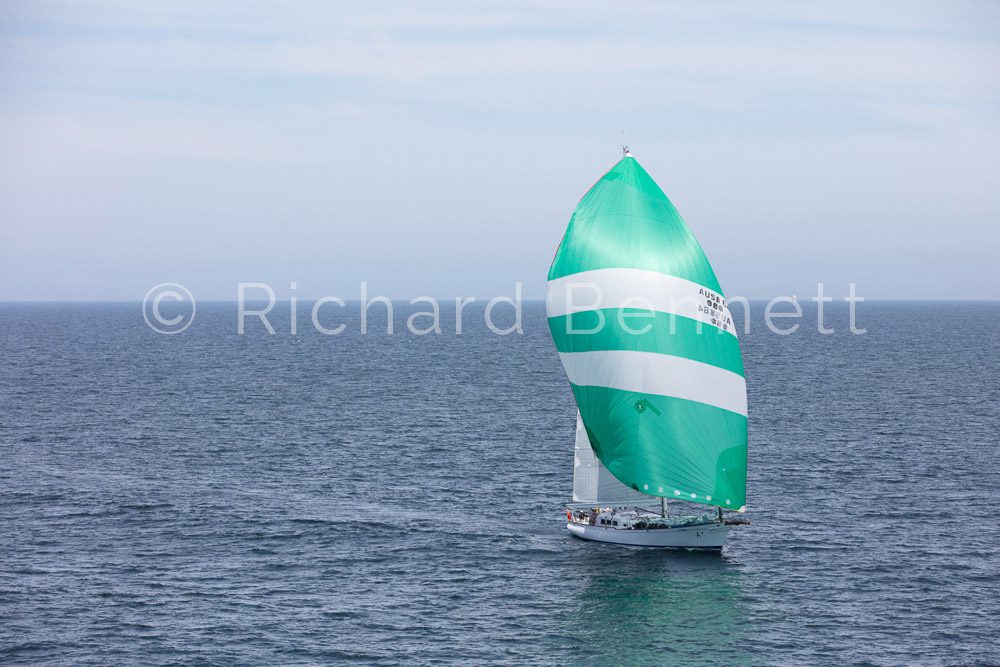
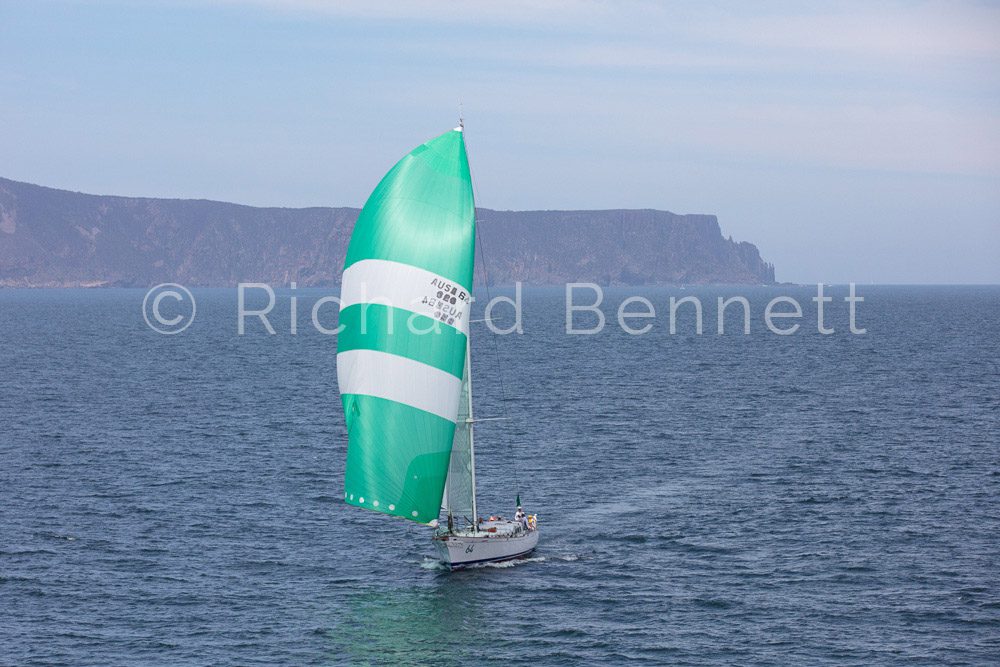
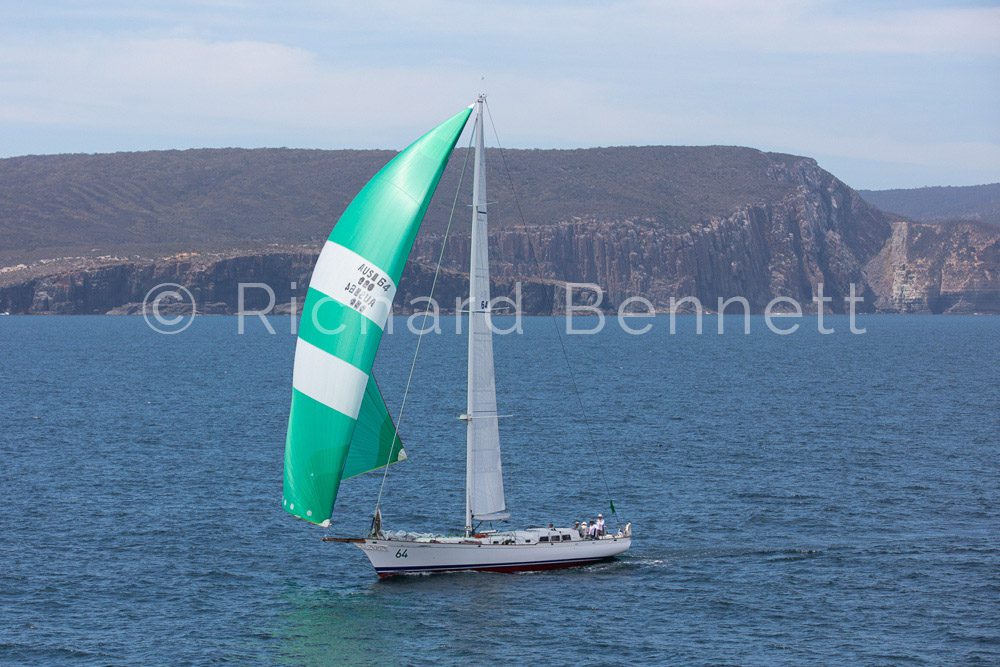
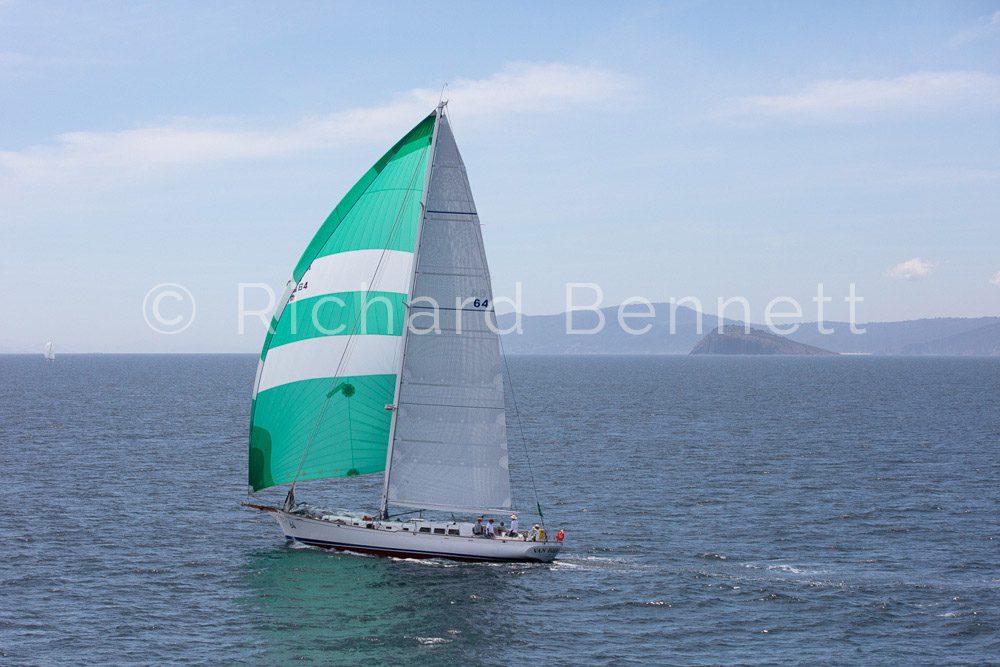
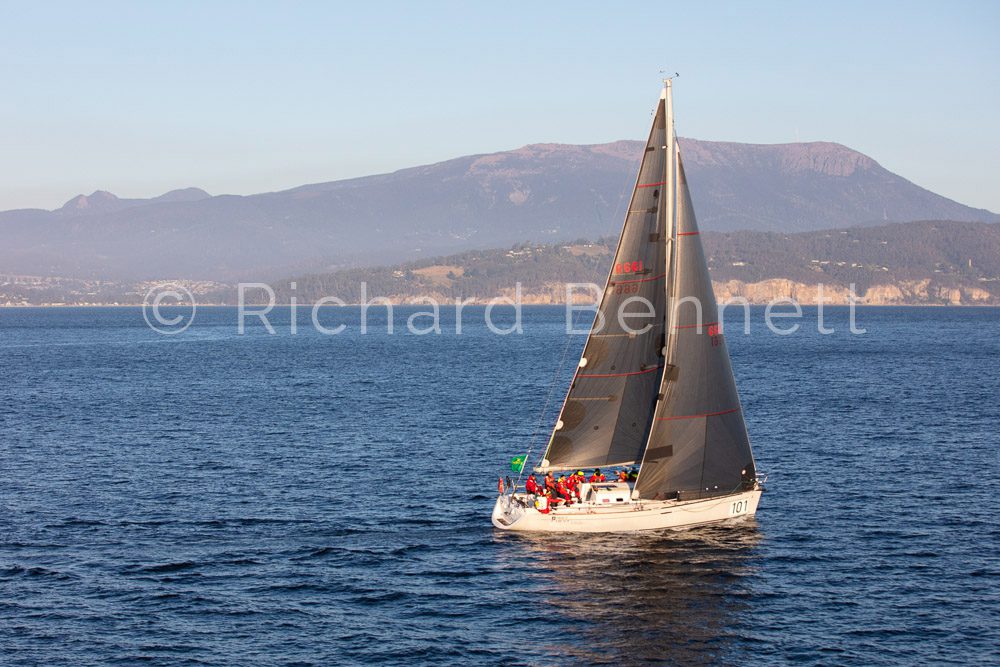
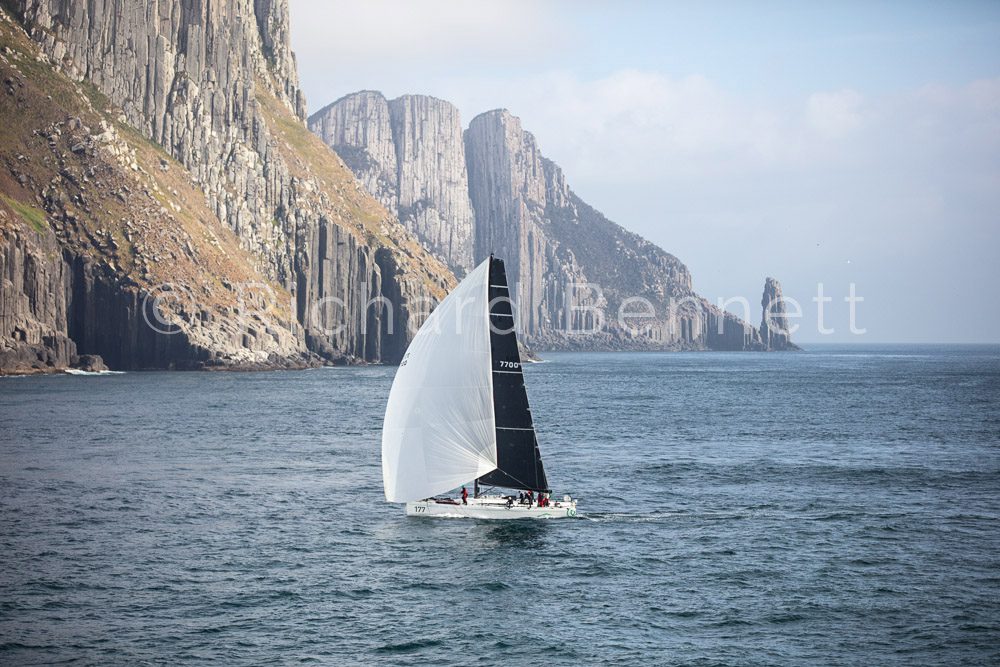
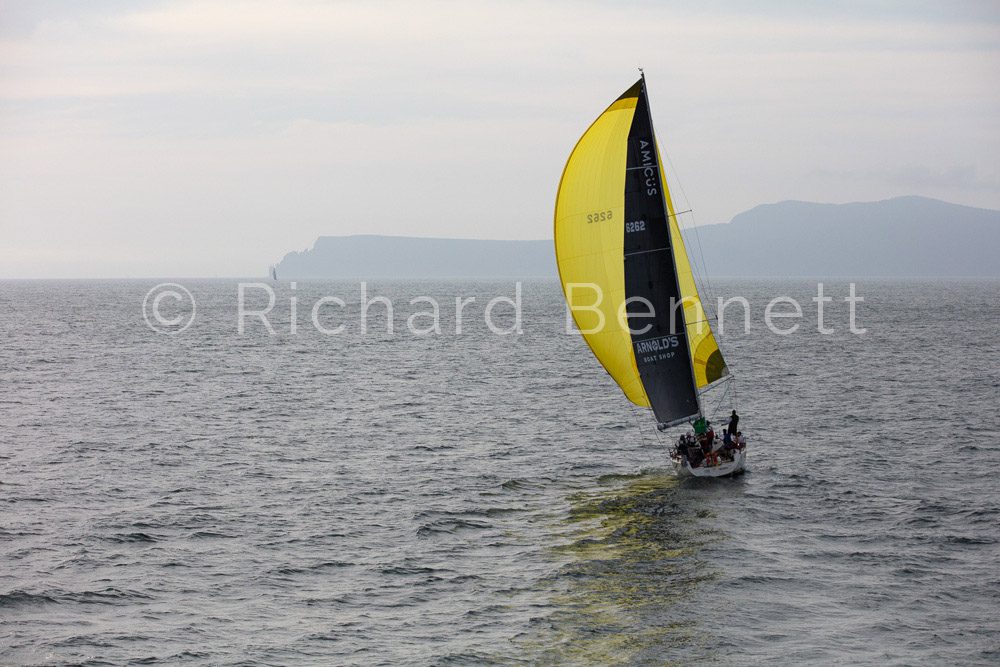
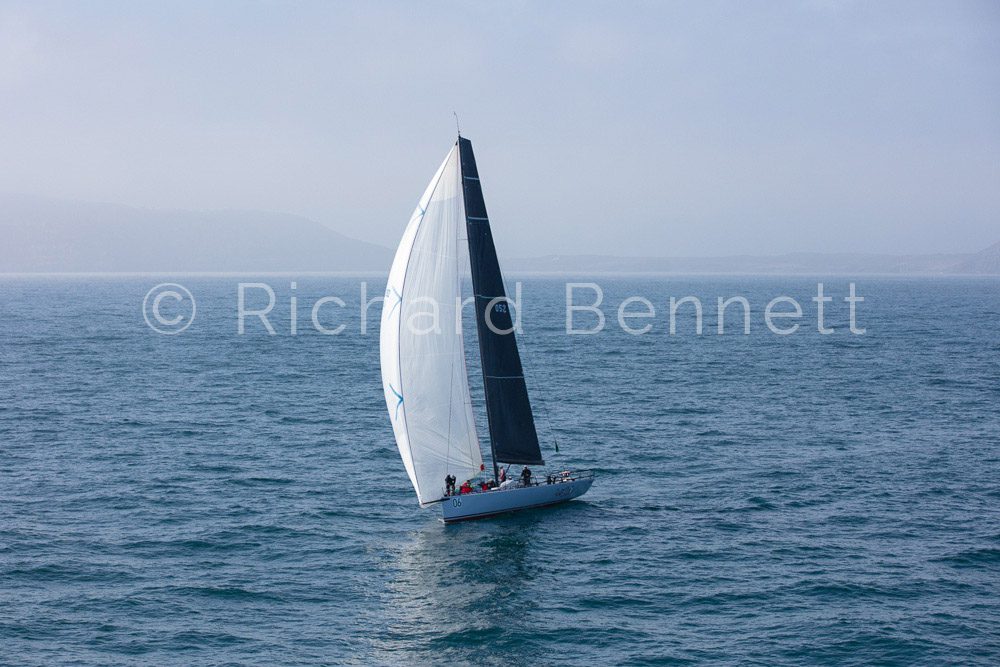
Van Diemen III 8883 SH19
Yacht:
Van Diemen III
Race:
Sydney Hobart
Year:
2019
See more from this race
Choose your print size:
Select Print Size
30cm Print
35cm Print
46cm Print
66cm Print
90cm Print
Framed 30cm Print
Framed 35cm Print
Framed 46cm Print
Framed 66cm Print
Framed 90cm Print
QTY:
Add to cart
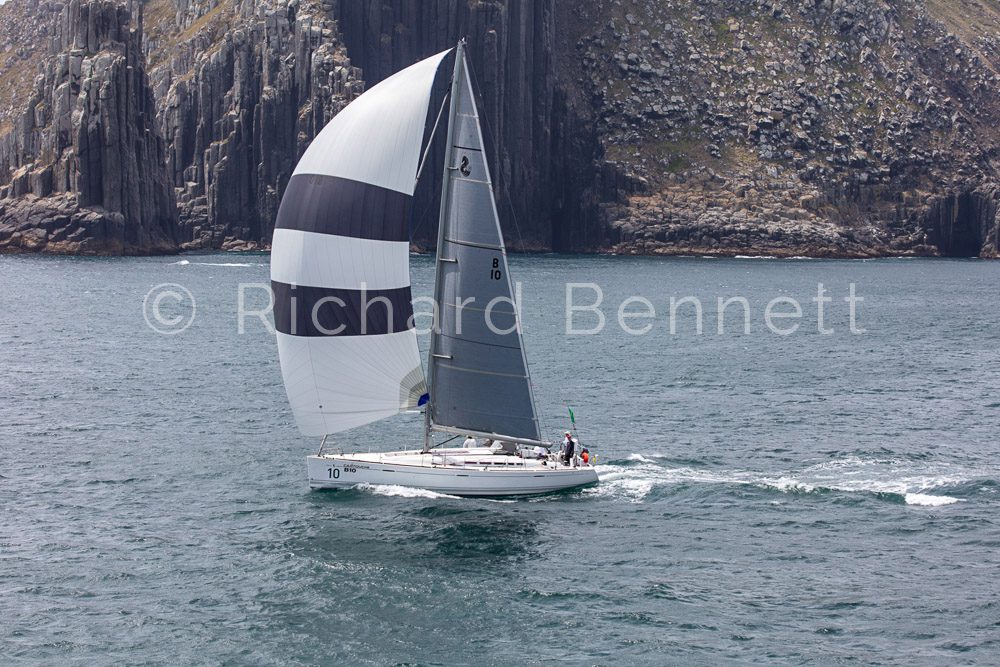
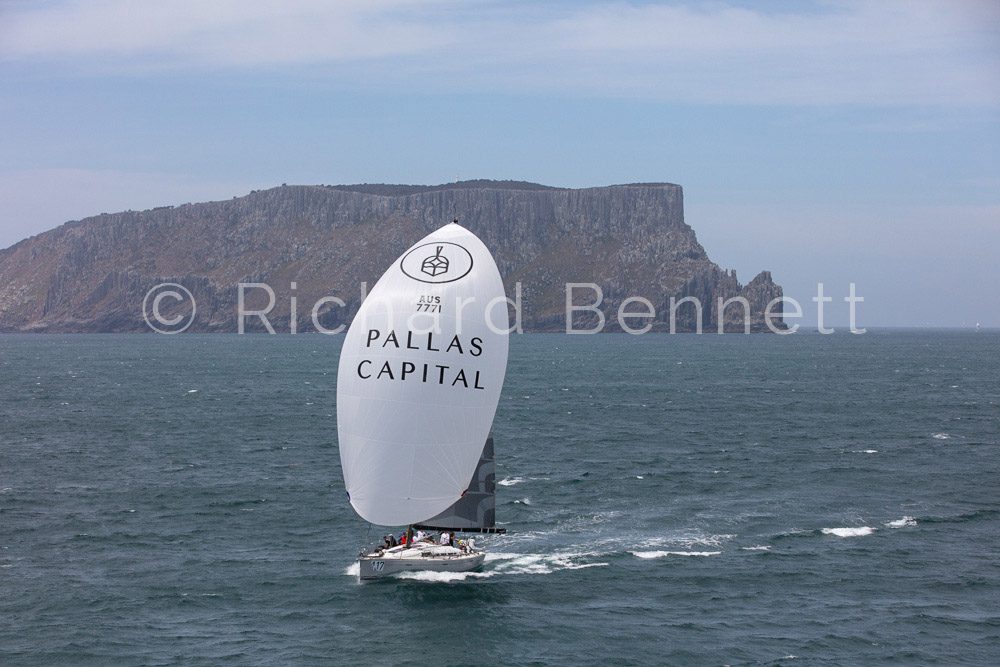
Related Images
Van Diemen III 8884 SH19
View
Van Diemen III 8886 SH19
View
Van Diemen III 8888 SH19
View
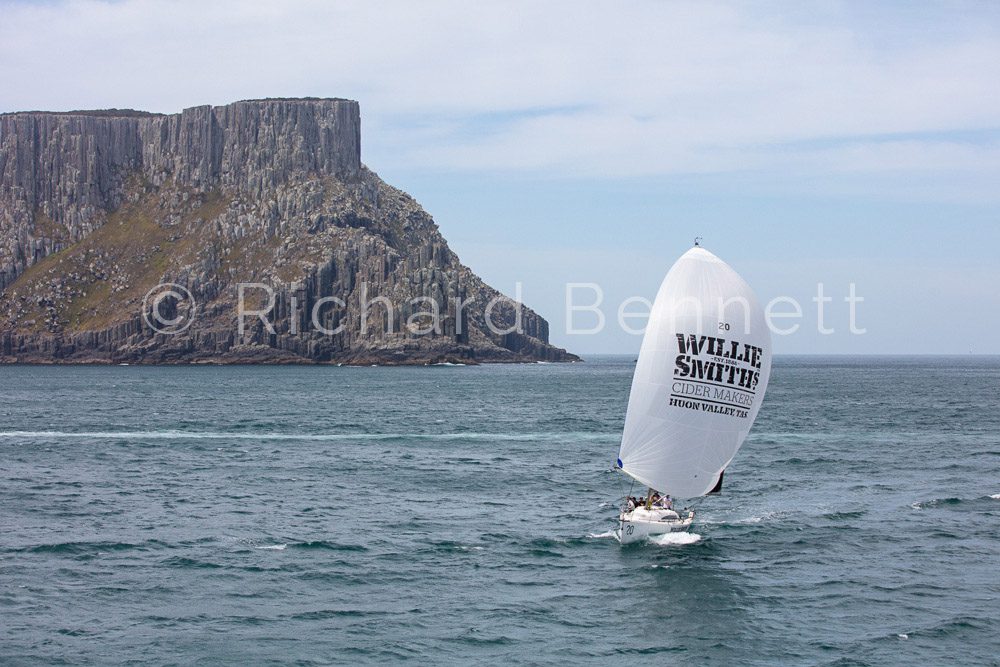
Crystal Cutter III 9645 SH19
View
Crystal Cutter III 9647 SH19
View
Crystal Cutter III 9648 SH19
View
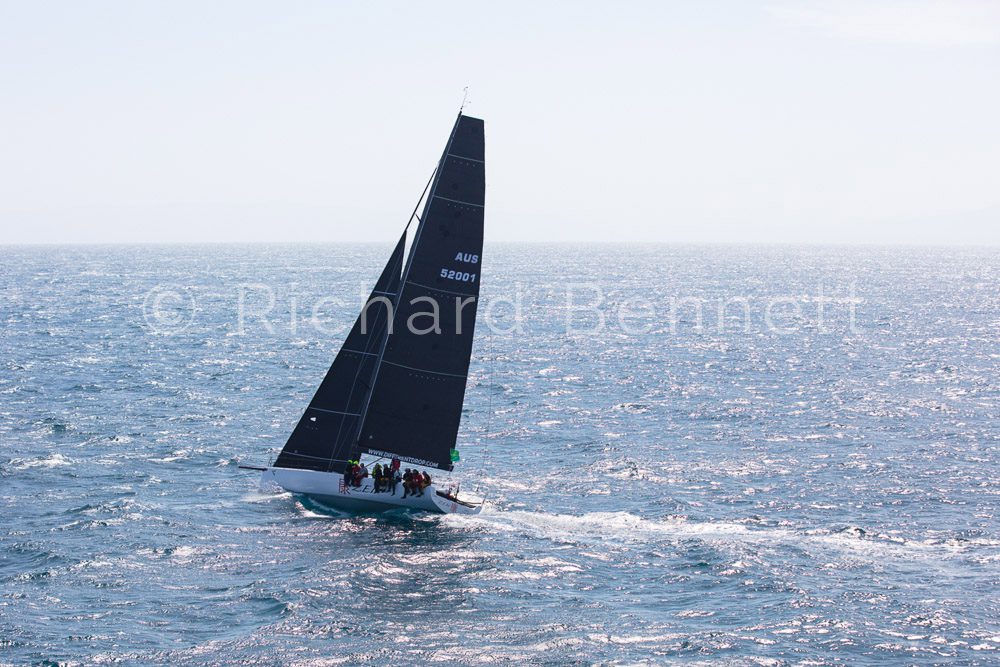
Galaxy III 9722 SH19
View
Galaxy III 9724 SH19
View
Galaxy III 9727 SH19
View
Galaxy III 9730 SH19
View
Galaxy III 9731 SH19
View
About Time 8507 SH19
View
Allegro 8904 SH19
View
Arch Rival 9129 SH19
View
Black Jack 8308 SH19
View
Business as Usual 9405 SH19
View
Cartouche 9127 SH19
View
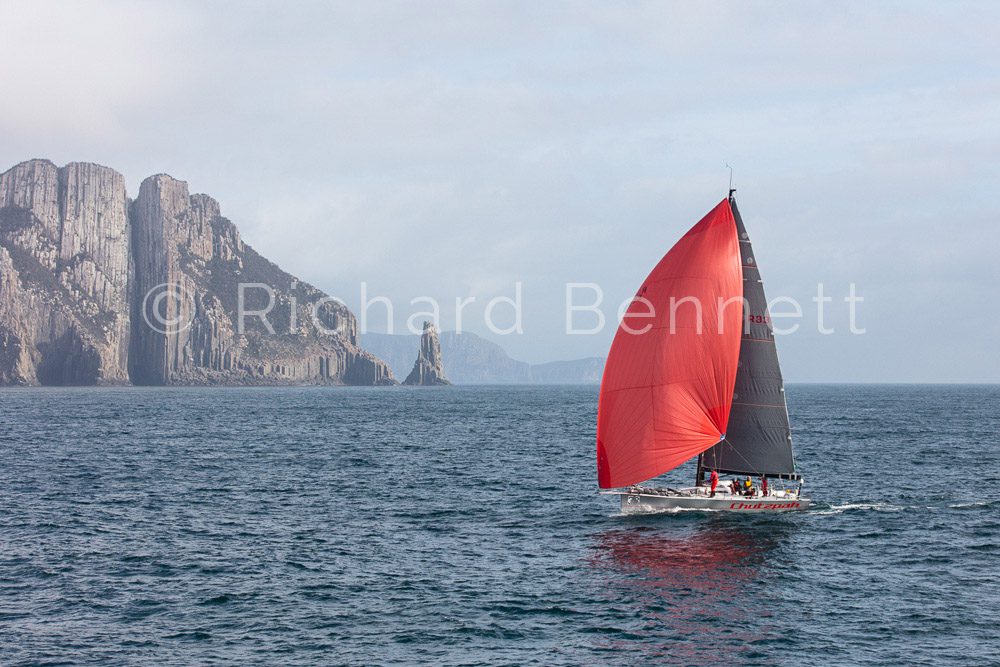
Chutzpah 8626 SH19
View
Copernicus 9671 SH19
View
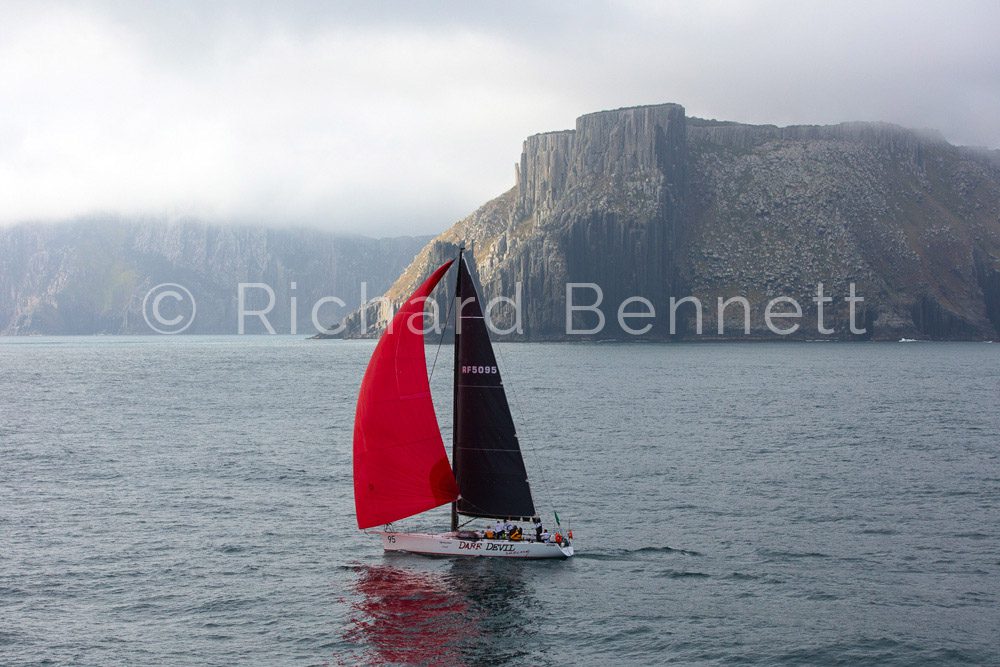
Dare Devil 9393 SH19
View
Dream 9245 SH19
View
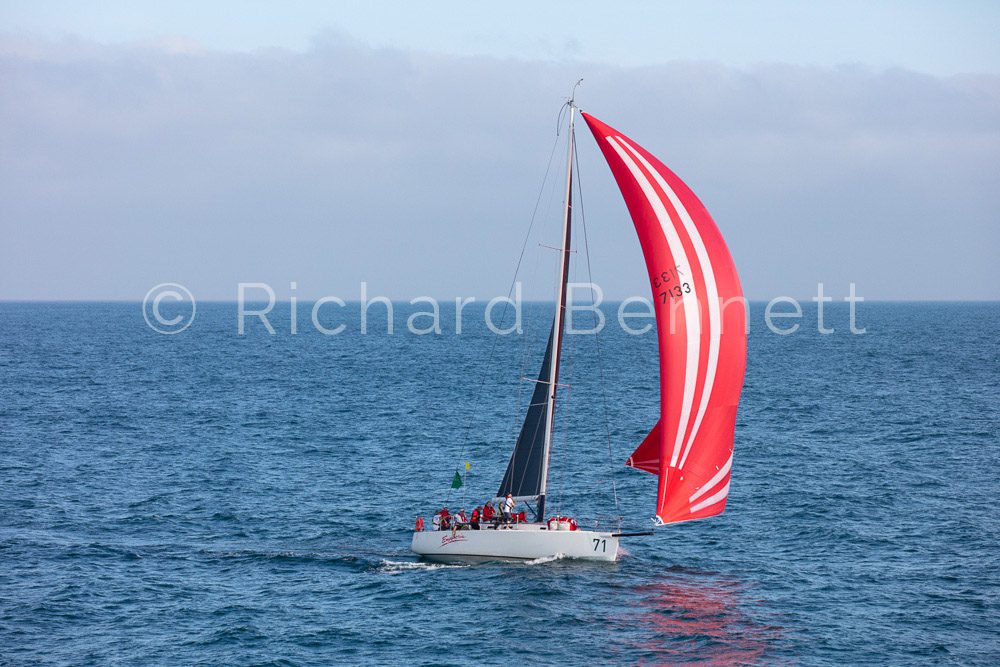
Euphoria 9357 SH19
View
Fidelis 9388 SH19
View
Gweilo 8414 SH19
View
Highly Sprung 9064 SH19
View
Imagination 9458 SH19
View
Jaffa 9111 SH19
View
Willie Smiths Philosopher 9112 SH19
View
Wots Next 8902 SH19
View
Zen 8394 SH19
View
Custom
Every digital file is personally worked by Richard to produce the best image. He custom prints every fine art photograph for each individual order.
Quality
Prints are made using the finest museum-quality papers with archival inks. They are of exceptional quality and will last a lifetime.
Signed
Each print is signed and embossed with a stamp of authenticity. So you know you have an original Richard Bennett icon to hang on your wall.
Don’t miss Richard’s latest developments
Register your email address for the latest on Richard's adventures, new prints, and products.
Name
This field is for validation purposes and should be left unchanged.
Email
Chasing storms and boats across white-flecked water canyons, Richard captures moments and memories that would otherwise be lost to time.
Navigation
–
Home
Shop
Stories
About
Information
–
Your Account
FAQs
Yacht Race Library
Contact
FOLLOW US
© Richard Bennett
2026